| Pearson 28 |
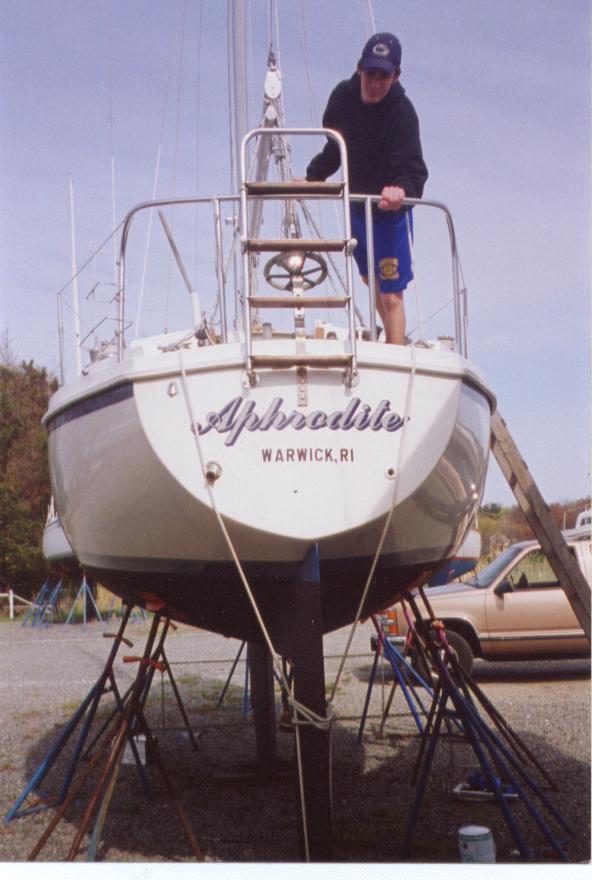
Hull#241 is a tiller steered P28-1, vintage 1978. After noticing a little more play and vibration in the tiller I decided to re-bush the rudder sooner, rather than later. She is going into her 26th season.
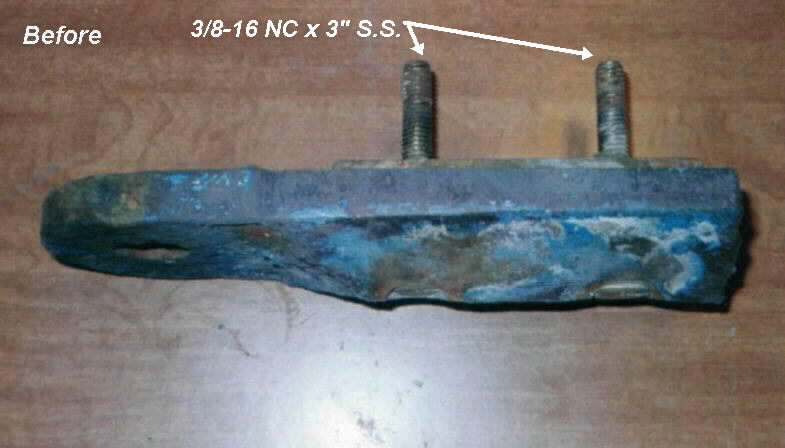
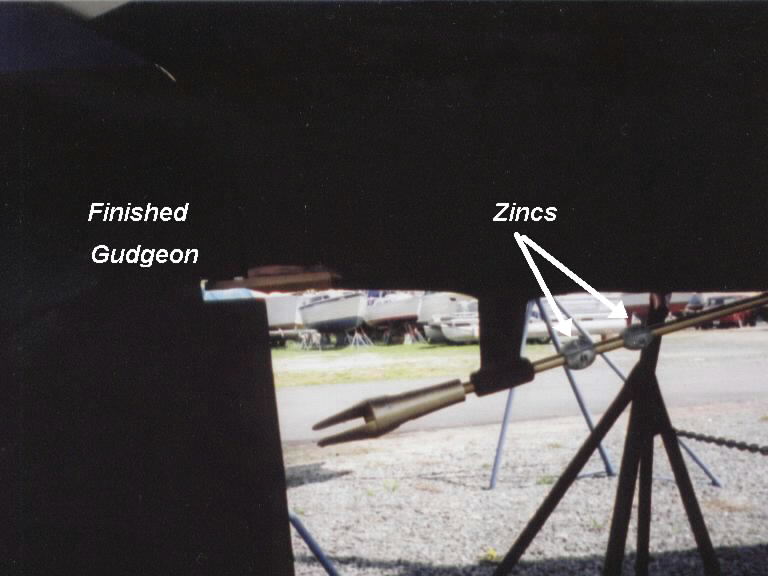
The P28 rudder is hung on a partial skeg. The skeg is integral to the hull and a cast bronze gudgeon, or boot is bolted thru the hull with two 3/8-16 NC x 3" S.S. screws with double nuts. The entire weight of the rudder rests on the gudgeon.
The rudder is in good condition and the bond where the shaft passes through is intact. There are no signs of water ingress on the rudder.
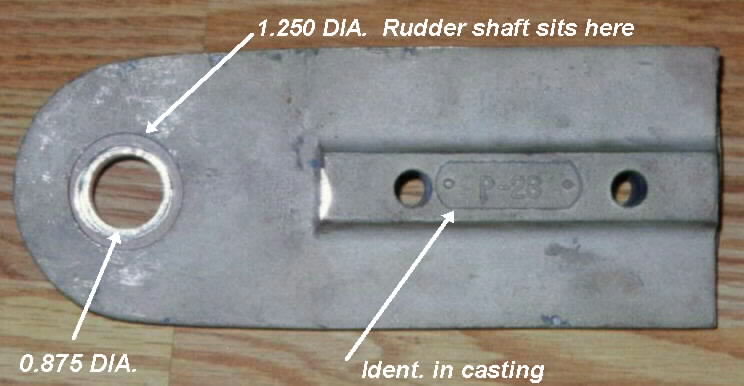
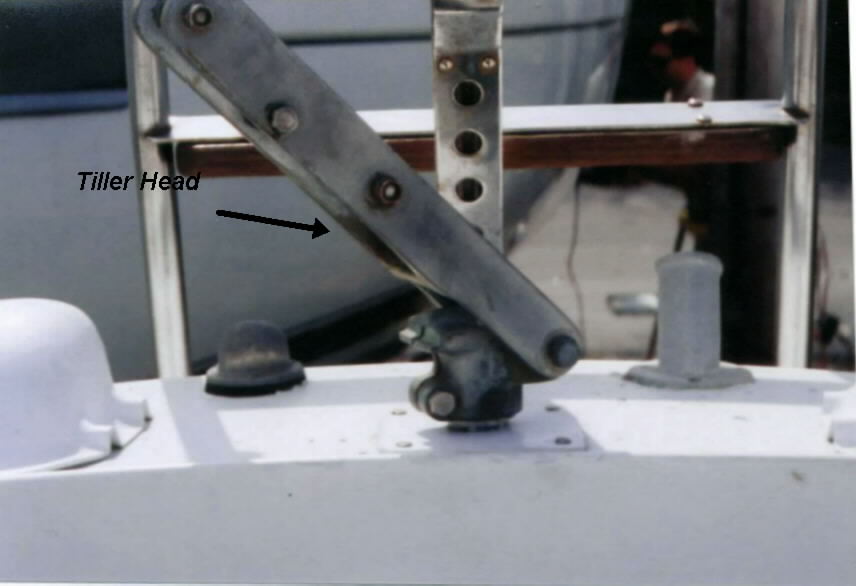
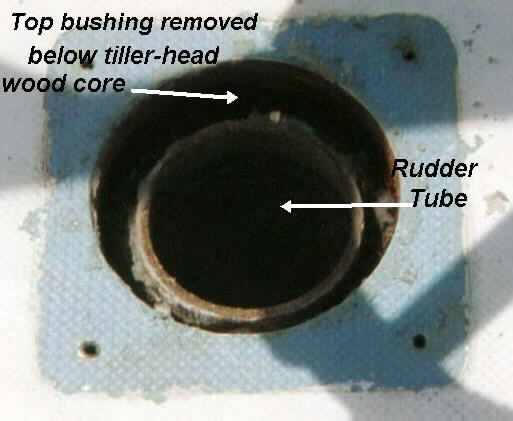
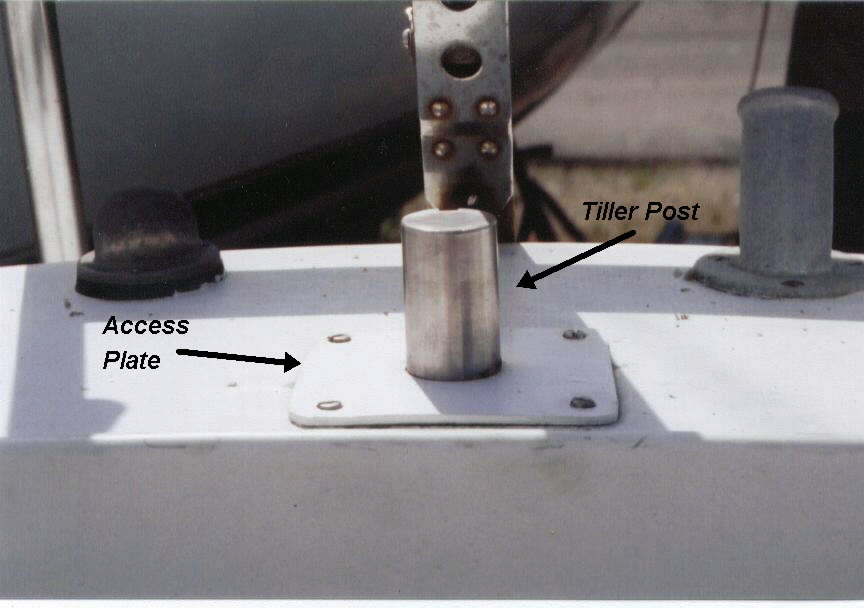
The tiller shaft is 1.250" DIA. S.S. and runs the from the tiller head, to the gudgeon. It passes through a fiberglass tube that runs from the bottom of the hull to the top of the stern. The top of the shaft is held by a delron bushing in the rudder tube, just below the tiller-head. I bought a new one from Rudy @ D&R Marine $20.00.
I removed the tiller-head and exposed the top bushing. There doesn't seem to be any appreciable wear on the top bushing. I don't know if the P.O. replaced this.
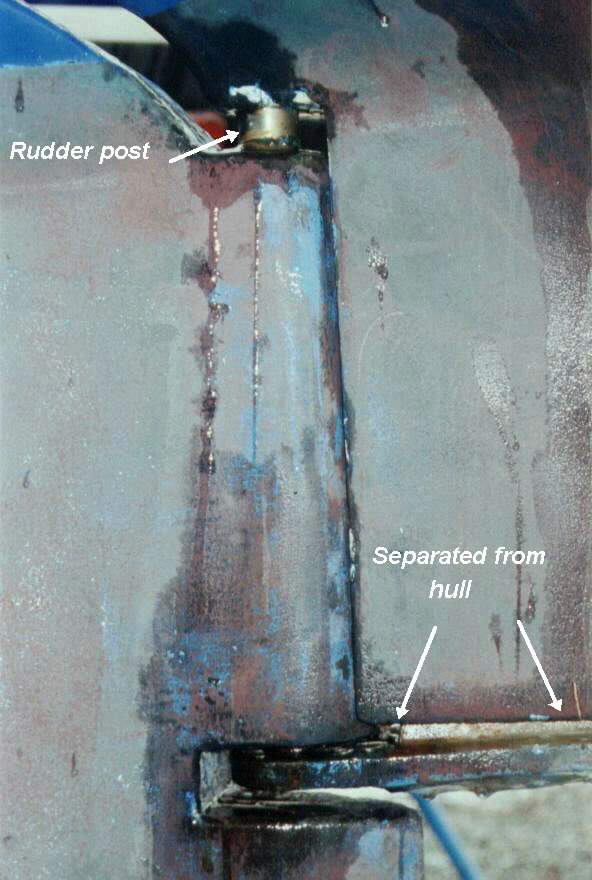
Access to the gudgeon fasteners is through the STBD cockpit locker. Remove the pegboard and the fasteners are located in a well on the center-line, aft of the fuel tank. I've heard the nuts are sometimes glassed over and otherwise difficult to remove. Not the case with #241. The nuts backed off easily after some initial persuasion. I didn't remove the fairing compound on the gudgeon to expose the screws. I left it there hoping it would hold the screws in place. It did! I left the nuts on loose (remember the entire weight of the rudder is here) and went outside to see what was happening. The gudgeon had started to separate from the hull.
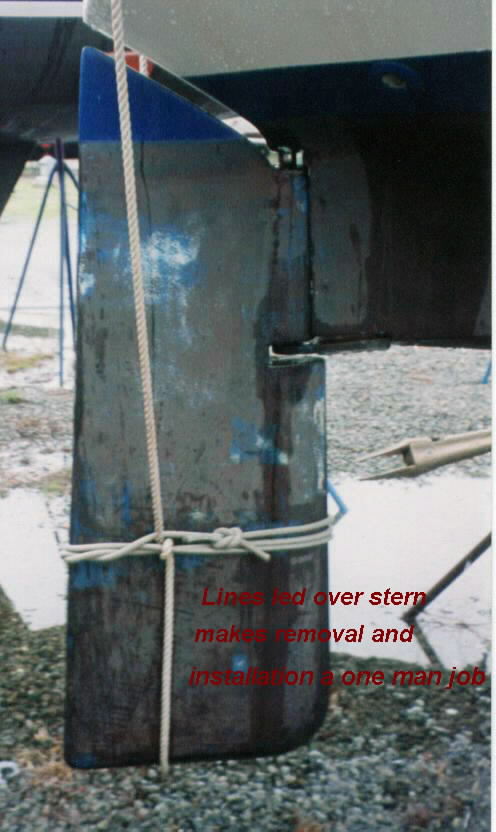
I took a screwdriver and gently separated the gudgeon from the hull till there was no slack on the bolts. I rigged a line from the STBD cockpit winch, over the stern, under the rudder, back up the PORT stern and to the PORT winch. Someone else on the P28 Forum had done it this way before (I don't remember who, but thanks. It works great.). Cinched the line around the rudder so it couldn't get away. Removed the nuts and Voila! The rudder was free and the gudgeon was out. Except for the 37" or so, of tiller shaft still in the rudder tube.
The only way to remove this rudder is to either lift the boat, or dig a hole under the rudder. I secured permission from the yard to dig. My plan was to rake away the pea stone, place the clay from the hole on a poly tarp and cover the hole with plywood till I could re-install the rudder. Everything went according to plan till about 24" I hit water!
Plan B. Have the yard raise the boat with the travel lift. Two times $75.00 is too much (once to remove, once to replace. I don't consider myself cheap, just thrifty)
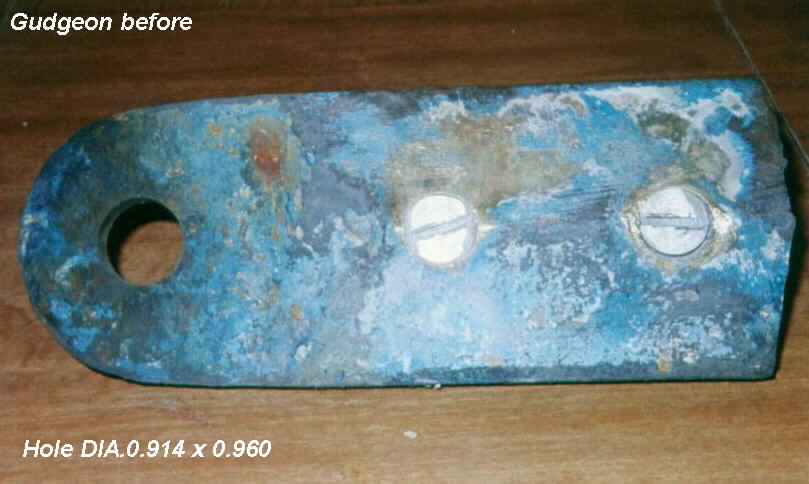
Plan C. Talk to dad. A retired engineer, but more importantly a toolmaker by trade. He came down took a look and said "You've got stainless and bronze. The shaft won't need to be machined." He came prepared with a micrometer and dial caliper. He measured the shaft at 3 places 0.873"0.872"0.873". The gudgeon hole was elongated. 0.914" and 0.967". So we filled in the hole and raked the pea-stone back. I brought the gudgeon to a marine machine shop specializing in prop, shaft and under water running gear.
One of the advantages to living and sailing on Narragansett Bay is there's always someplace nearby that can accomplish anything marine related. The machine shop is less than a mile from the boat.
I drew a diagram of the shaft and gudgeon with measurements and arrows and notes. He must have thought I was obsessing because he said "This ain't exactly rocket science ya know. They used to make these out of wood." We both had a laugh and he said call me next week.
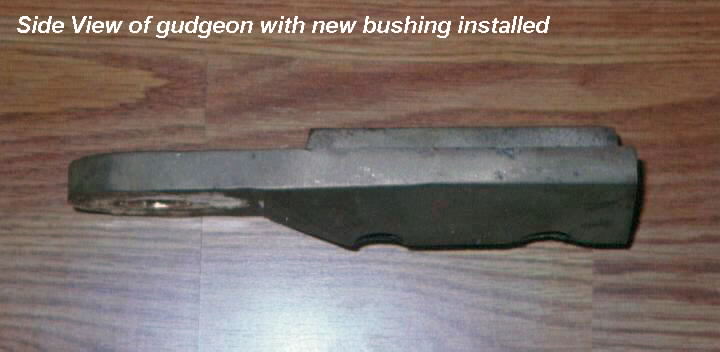
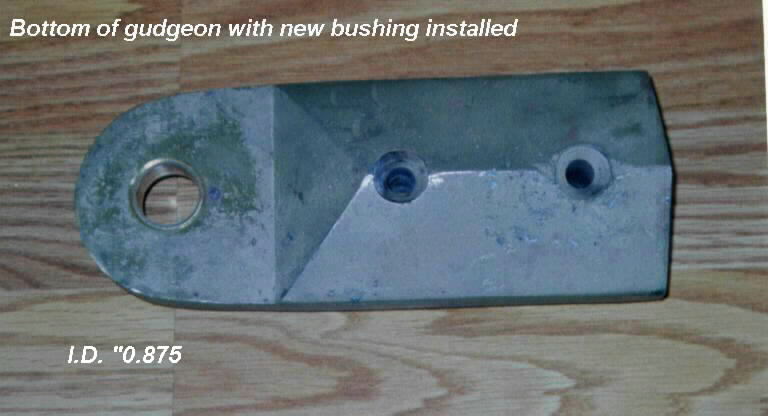
I went back a week later and he was just finishing up. The new bushing is an interference fit into the gudgeon with a little epoxy for good measure. After pressing the bushing he reamed it to 0.875". $40.00 bottom bushing. I brought it to the boat and it's a nice fit on the rudder shaft. I had planned to use 3M5200 sealant. Mark Petrush suggested Life Caulk to facilitate removal if something went wrong. The original sealant appeared to be silicone seal. I used a liberal amount of Life Caulk.
The Life Caulk works well. It was tacky enough so I didn't need an assistant to hold the screws while I tightened them. I winched the rudder into place using the cockpit winches. Installed the screws through the bottom and went into the cockpit locker to fasten the nuts. There is a bonding wire that runs to the forward screw. I placed that between the flat washer and 2 locking nuts. Tightened them down and finished with the gudgeon.
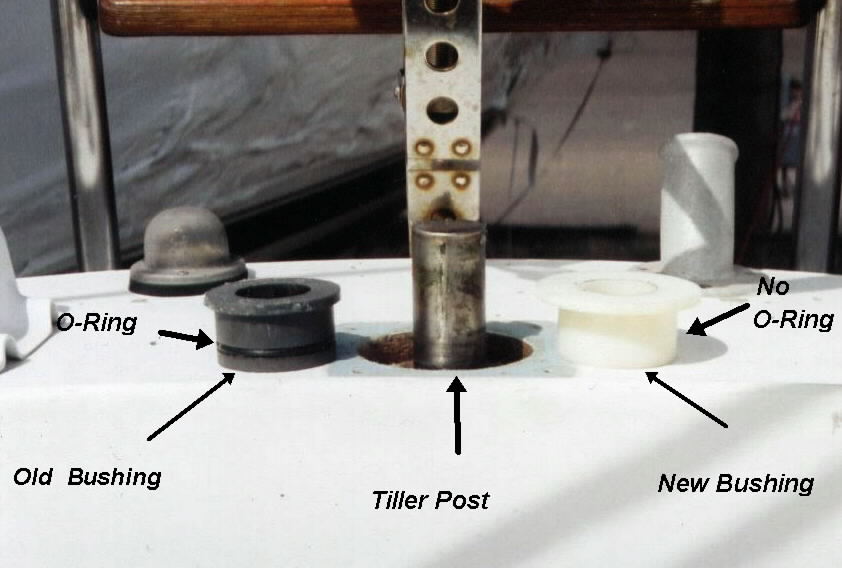
The original top bushing has 2 o-rings. One on the O.D. and another on the I.D. There are grooves machined into the surfaces to accept them. At first I thought they were only there to prevent water from entering the tube. But they do make for a tighter fit in the tube. The new bushing has no grooves. The original was siliconed in. The stern deck where the tiller head passes through is cored here. I used Life Caulk there as well to prevent water from saturating the core.
Bottom Line:
New Top Bushing D&R Marine..........$20.00
Bottom Bushing Bayview Marine...........$40.00
Life Caulk.....................$6.99
Total......................$66.99
Labor.....................2.5 hours