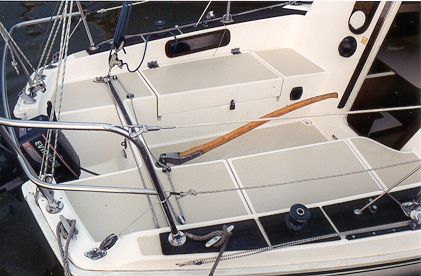
Our P26 has some optional equipment. The stern rail is optional. Ours is a double rail and helps make the cockpit feel cozy, especially in big waves. A lot of P26's don't have any stern rail and I haven't seen any others with a double. We also have double lifelines - another option that I have seen on only a few P26's. We also have teak caps on the coaming. This was a Pearson option ($92 in '76) and I haven't seen any others with it.
Our winches are the original Lewmar #8. They are fine with all our headsails, even the 170 (unless were flying it in too much air, but that's a different problem). I don't think we need anything bigger but I would like self tailers. The cam cleats I added for the sheets help a lot.
We had a leak around the rudder tube and water got into and rotted the balsa core in the cockpit floor. The damage extended from the rudder tube about 24 inches forward. When the boat was built and the rudder tube installed, the balsa core around the hole in the cockpit floor was not properly sealed. Water had probably been leaking in since the 80's. The top of the rudder tube was glassed only to the bottom of the cockpit floor and sealed to the top with just a bead of silicone. I did an extensive repair to the floor from below. There is a detailed description of the repair on my How To Page
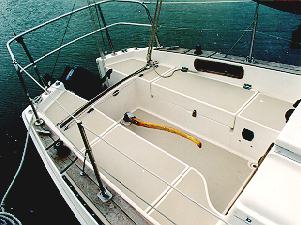
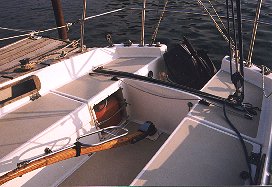
Other views of the Cockpit
 From the Starboard Side |
 From Forward |
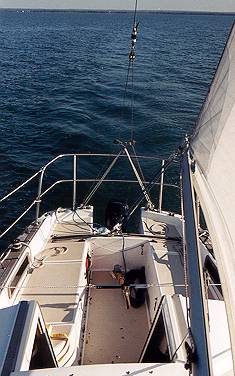 From Above |